How to Get Started
Follow these five steps to connect your Coinbase account and start automated scalping in under 10 minutes. No coding required.
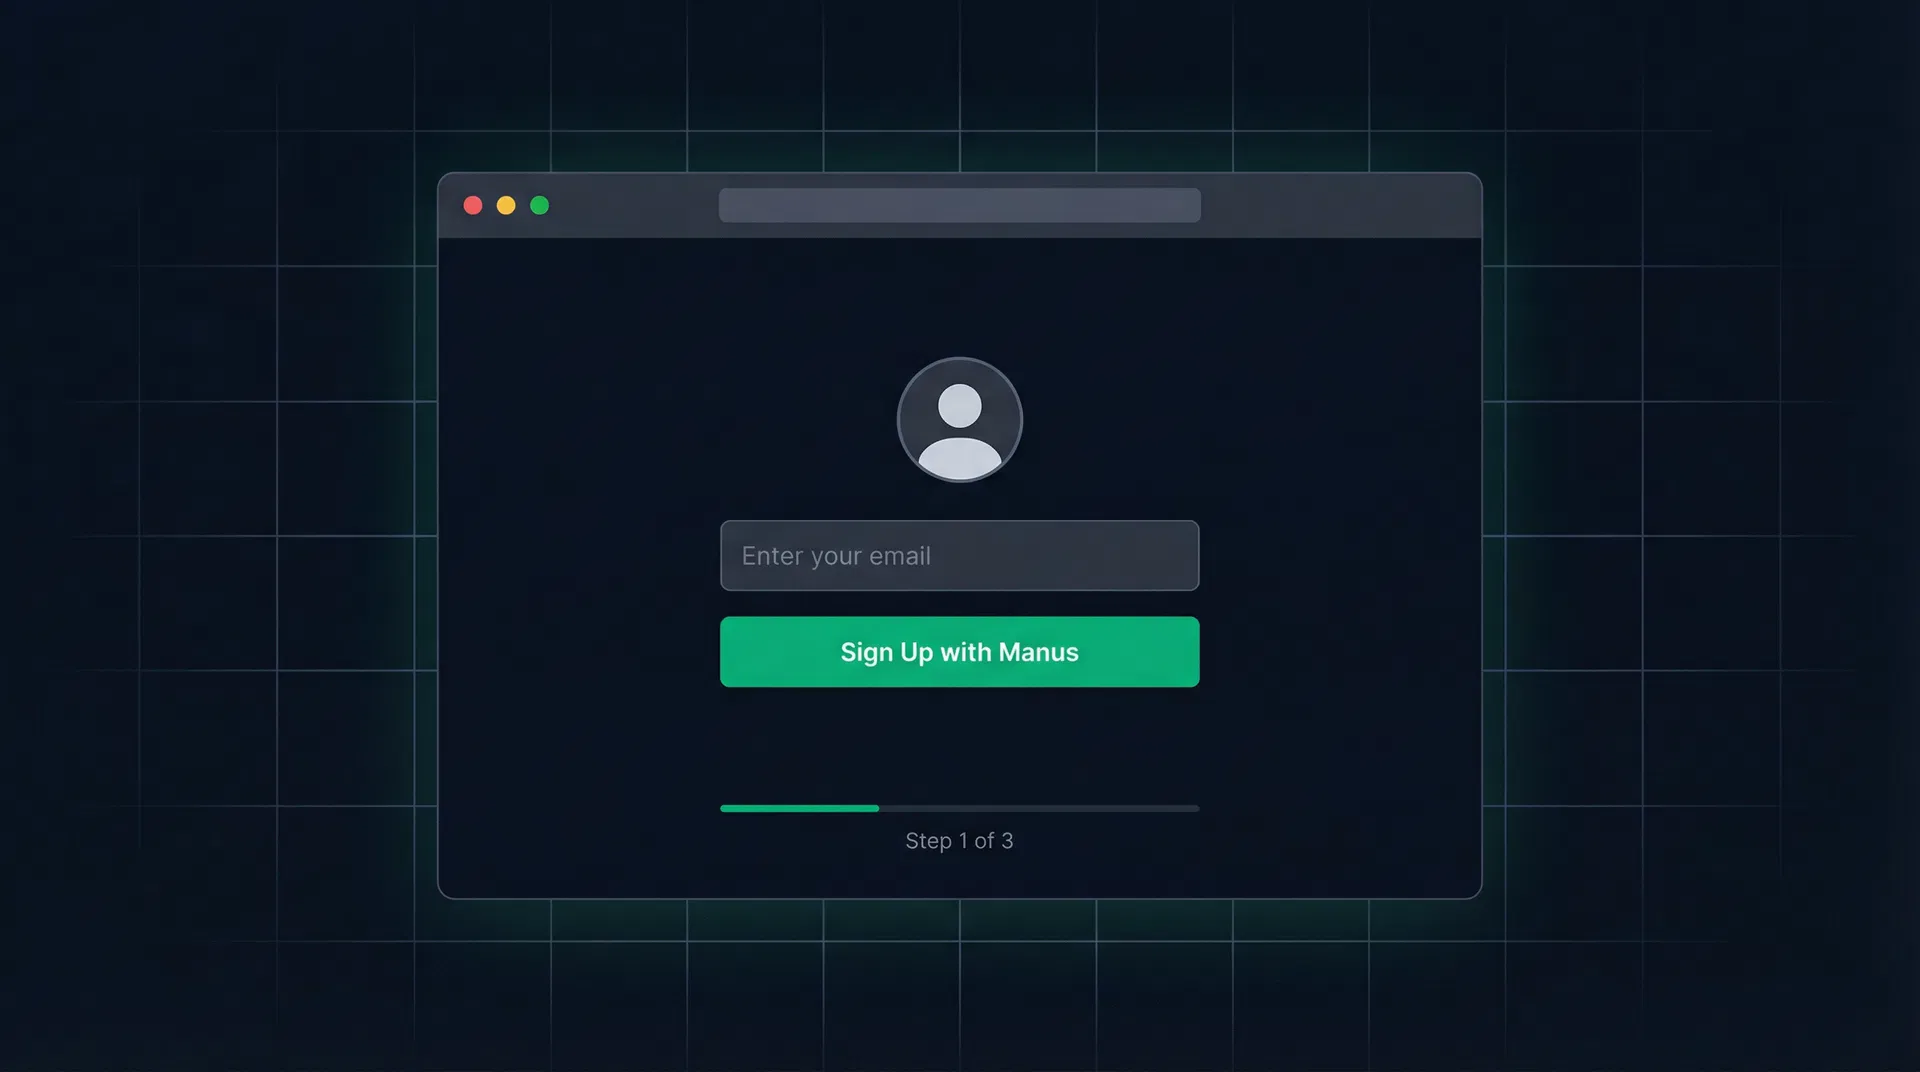
Create Your ScalpEx Account
Getting started takes less than a minute. Click the "Start Trading" button on the homepage or use the button below to create your free account.
Click "Start Trading Now"
You'll be redirected to the secure sign-in page.
Sign up with your email
Create an account using your email address. Quick and secure authentication.
Accept the Terms of Service
Review and accept the terms to access your dashboard.
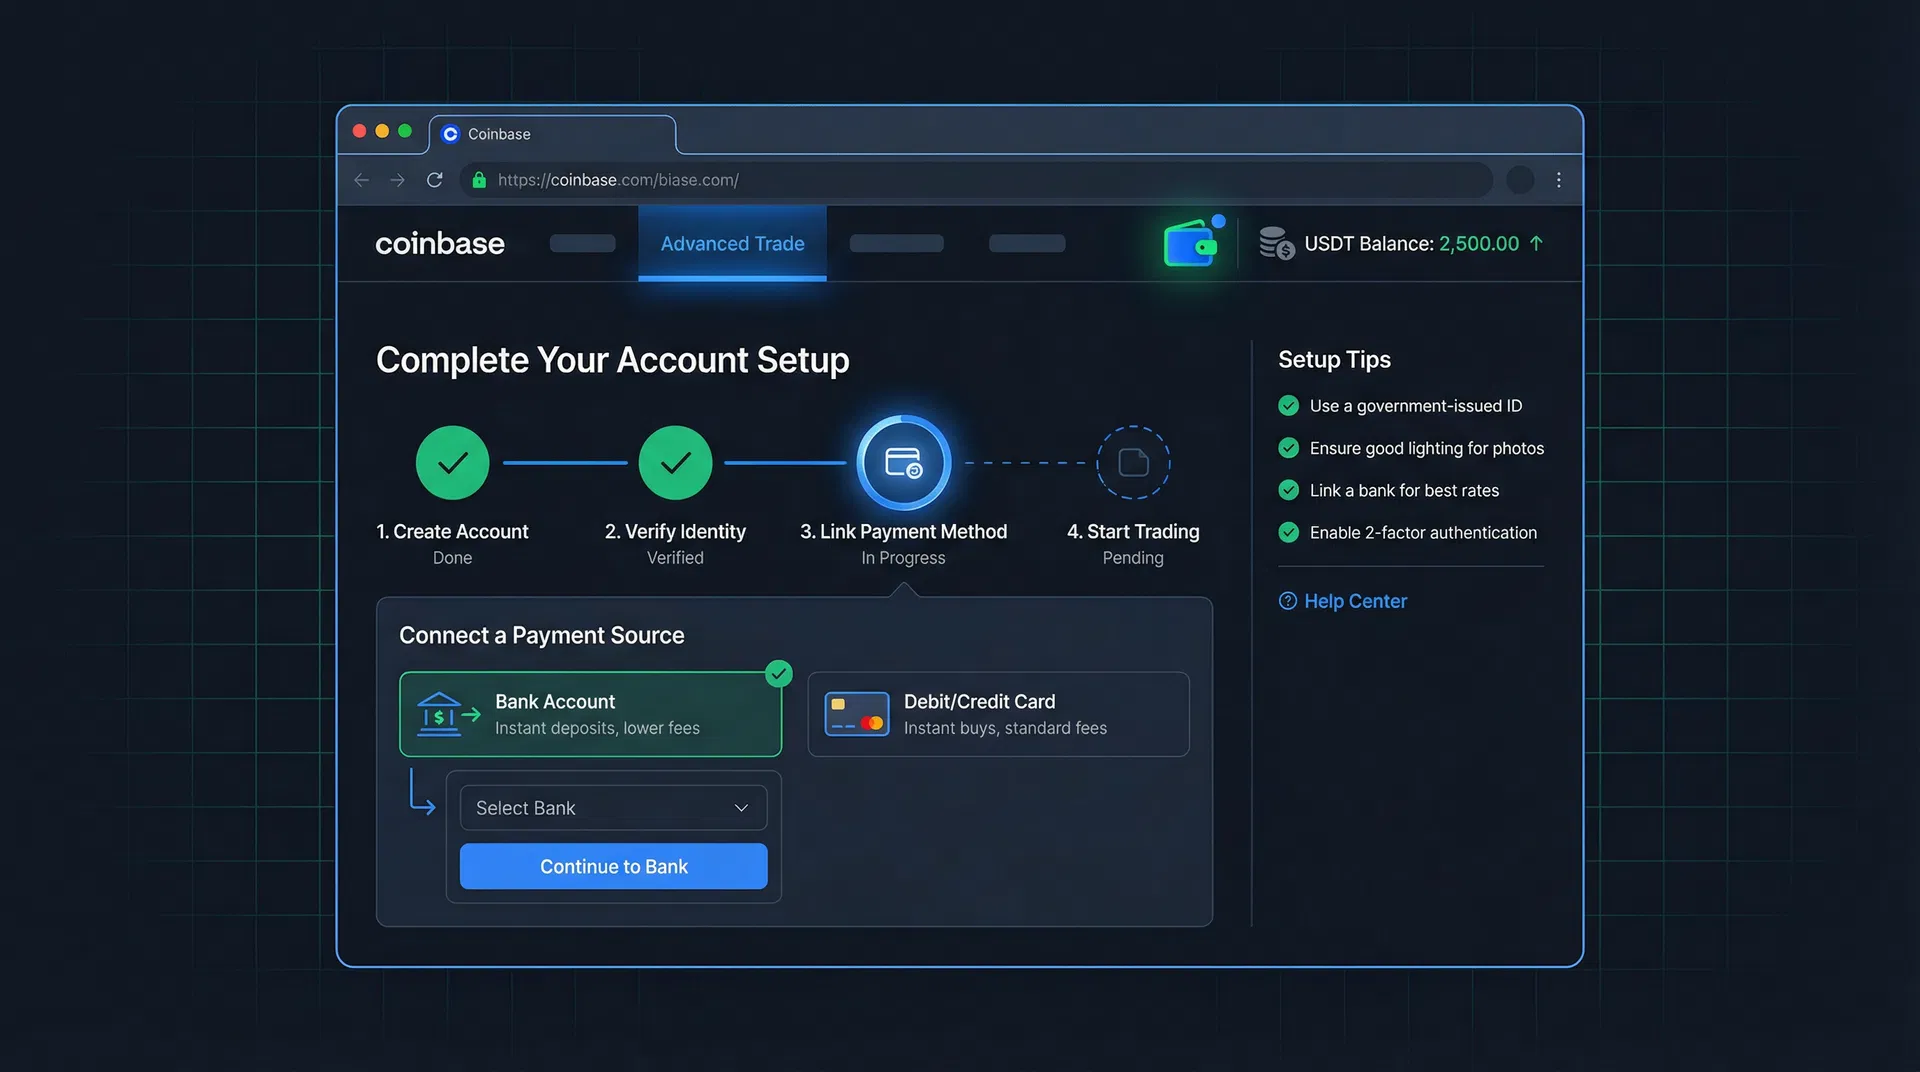
Set Up Your Coinbase Account
If you don't already have a Coinbase account, you'll need one. ScalpEx connects directly to Coinbase Advanced Trade to execute trades on your behalf.
Create a Coinbase account
Visit coinbase.com and sign up. Complete identity verification (KYC).
Fund your account with USDT
Deposit USDT (Tether) into your Coinbase account. We recommend at least $100 USDT to start. You can deposit via bank transfer, card, or crypto transfer.
Enable 2-Factor Authentication
For maximum security, enable 2FA on your Coinbase account using an authenticator app.
Security Note
ScalpEx never has access to your Coinbase login credentials. We only use API keys with limited trading permissions — no withdrawals, no transfers.
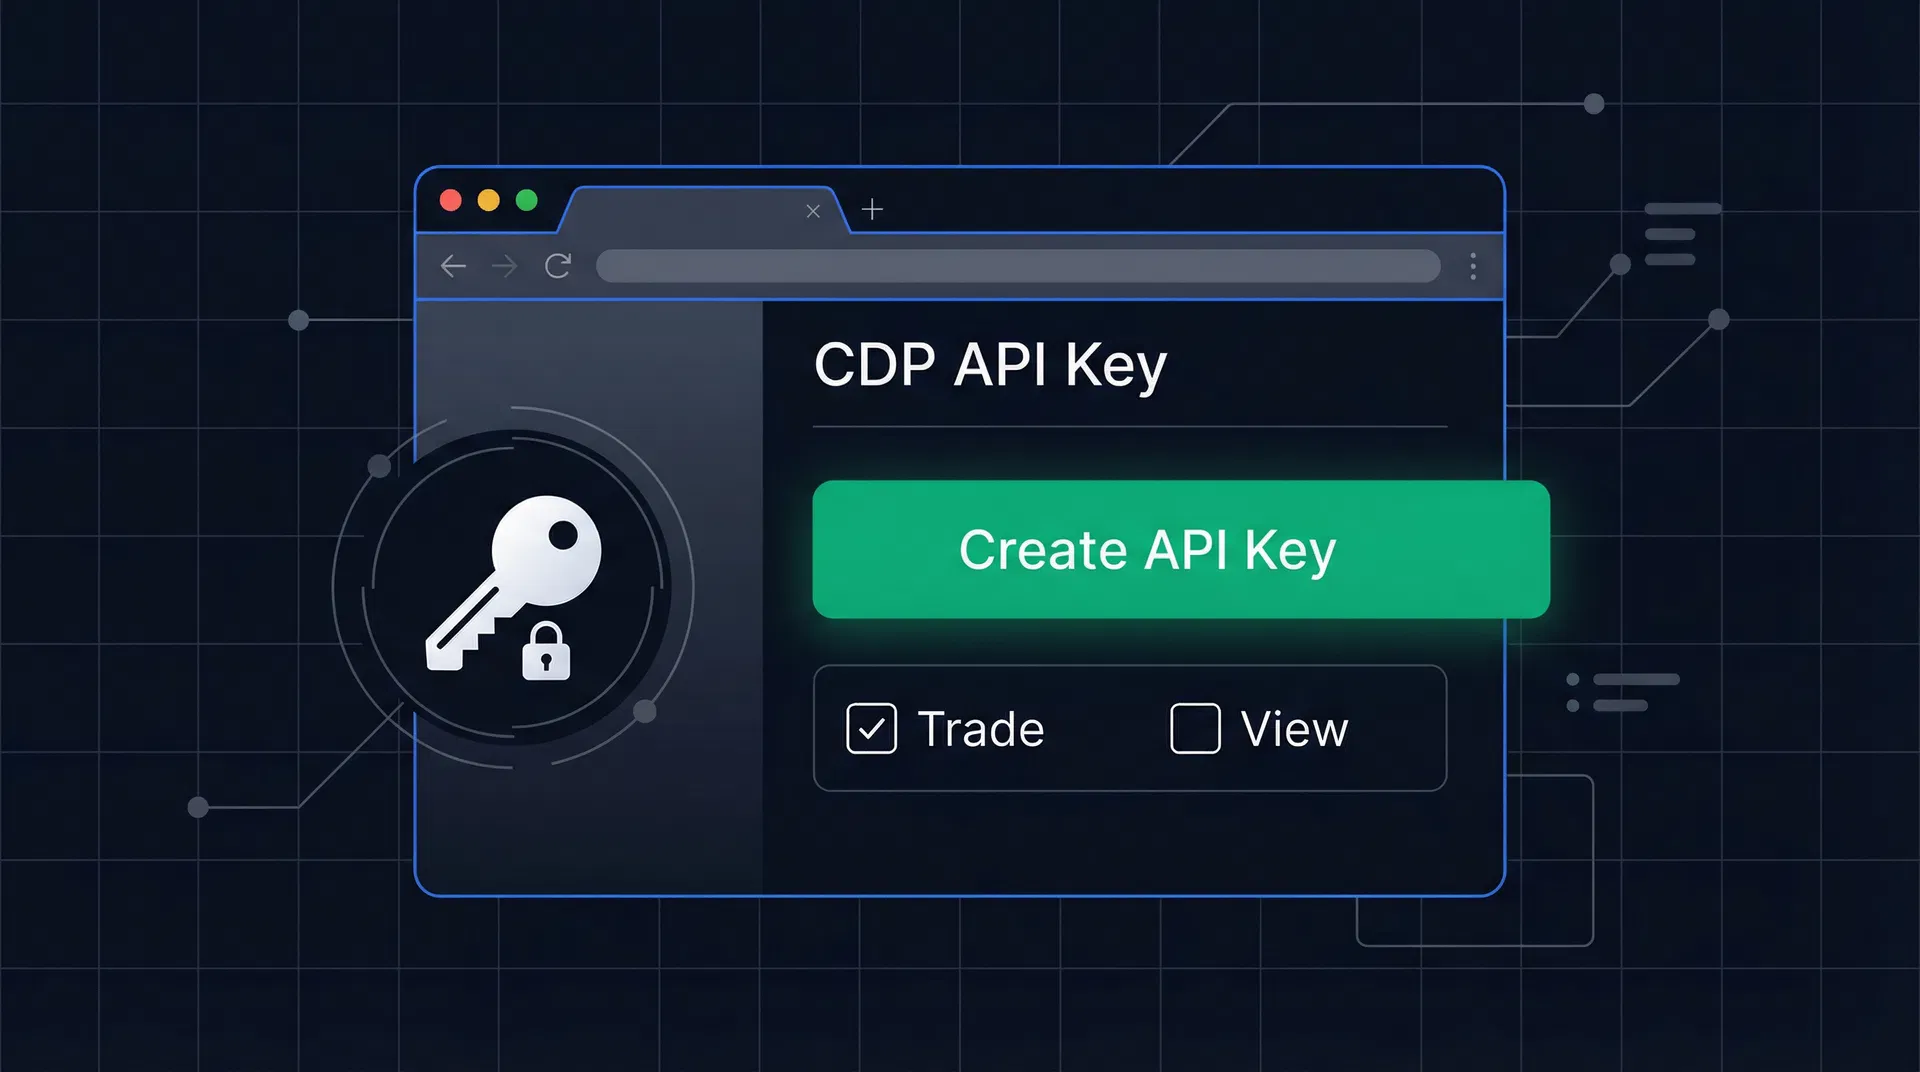
Generate Your CDP API Keys
This is the most important step. You'll create a CDP (Coinbase Developer Platform) API key that allows ScalpEx to trade on your behalf.
Go to the Coinbase Developer Platform
Click "Create API Key"
You'll see a form to configure your new API key.
Set permissions to "Trade" only
Select only the "Trade" permission. Do NOT enable "Transfer" or "Withdraw" for maximum security.
Save your API Key Name
Copy the API key name (looks like: organizations/xxx/apiKeys/xxx).
Download the Private Key (PEM)
Download the .pem file immediately — Coinbase only shows it once! It starts with -----BEGIN EC PRIVATE KEY-----
Important
The private key is shown only once when you create it. If you lose it, you'll need to create a new API key. Save it in a secure location.
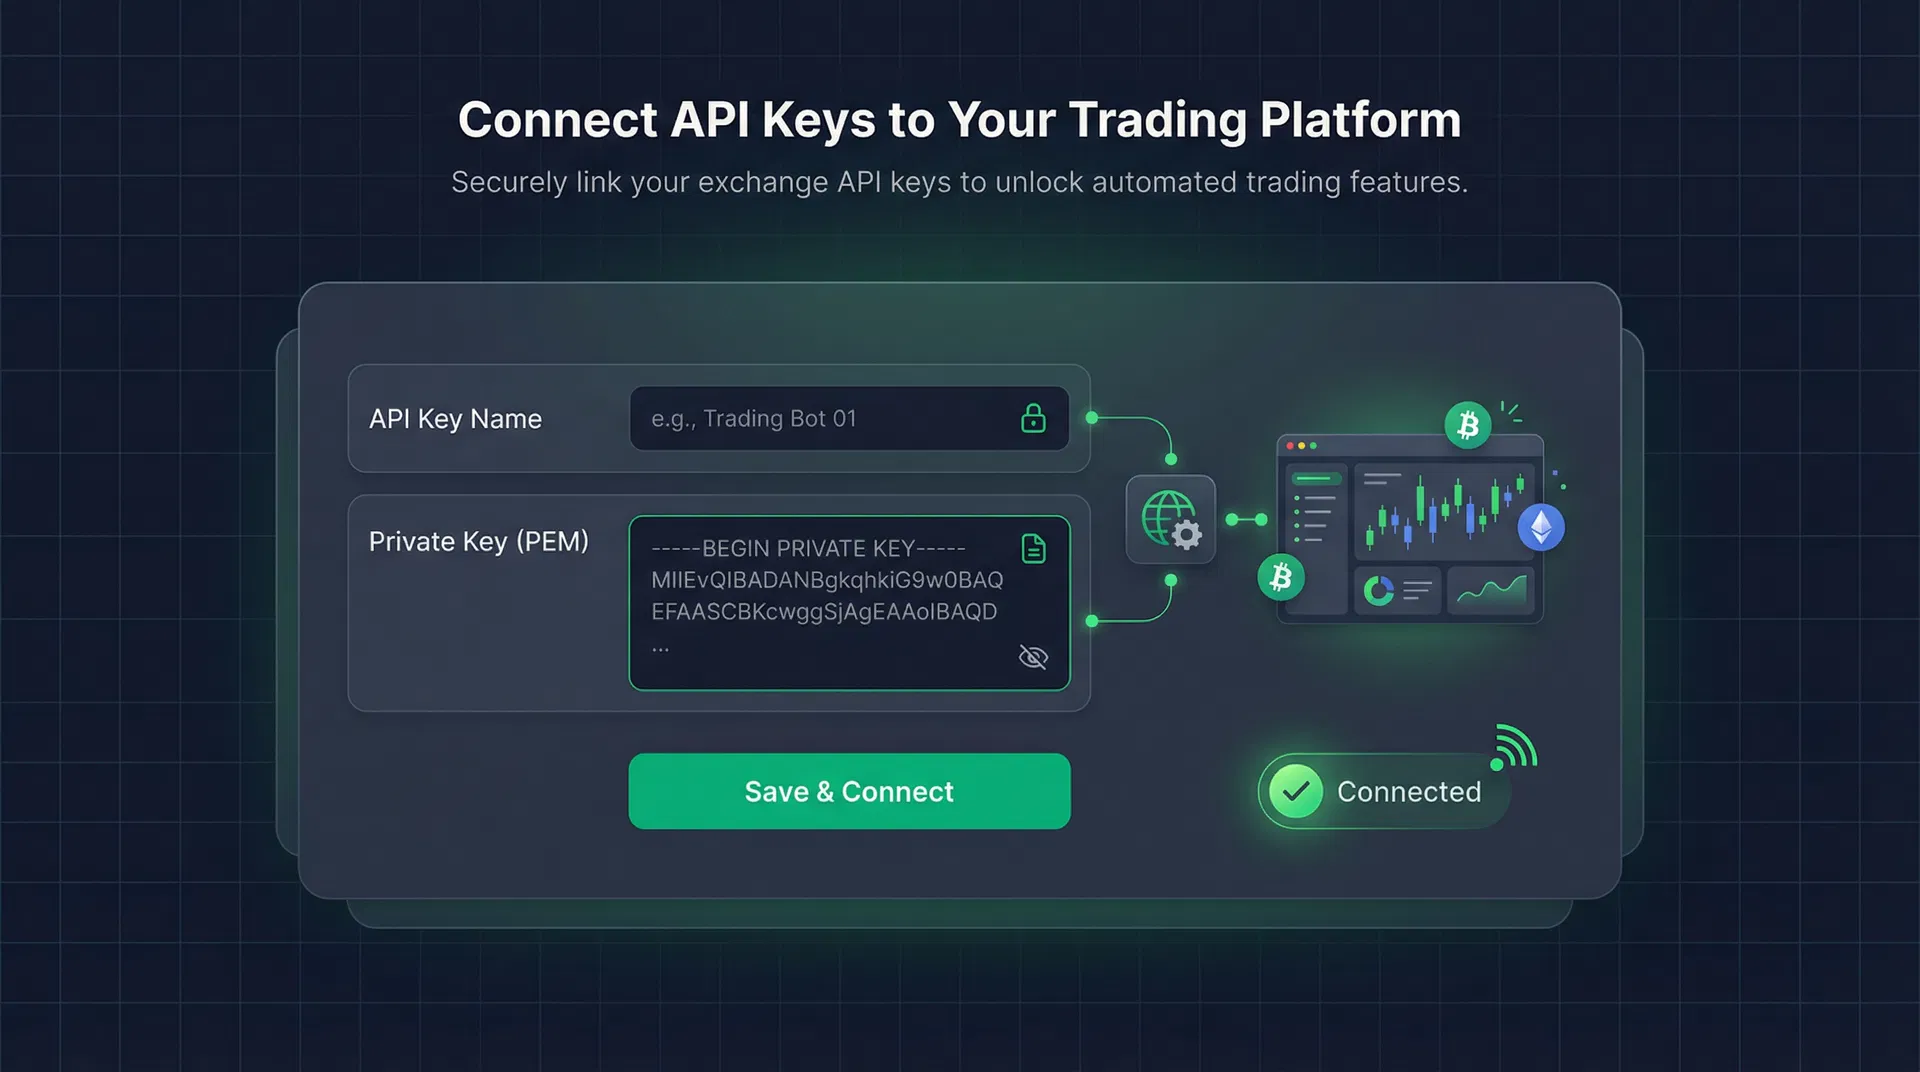
Connect Keys to ScalpEx
Now paste your CDP API credentials into the ScalpEx dashboard. The bot will verify the connection and confirm everything is working.
Go to Bot Settings
From your ScalpEx dashboard, navigate to the "Bot Settings" page.
Paste your API Key Name
Enter the full API key name from Coinbase (the organizations/... string).
Paste your Private Key (PEM)
Paste the entire contents of the .pem file, including the BEGIN and END lines.
Click "Save & Test Connection"
ScalpEx will verify your keys by making a read-only API call. You'll see a green "Connected" status when successful.
Encryption
Your API keys are encrypted with AES-256 before being stored. They are never logged, never exposed in the UI after saving, and transmitted exclusively over HTTPS.
Configure & Launch the Bot
Choose your trading pairs, set your risk parameters, and activate the bot. It will start scanning for opportunities immediately.
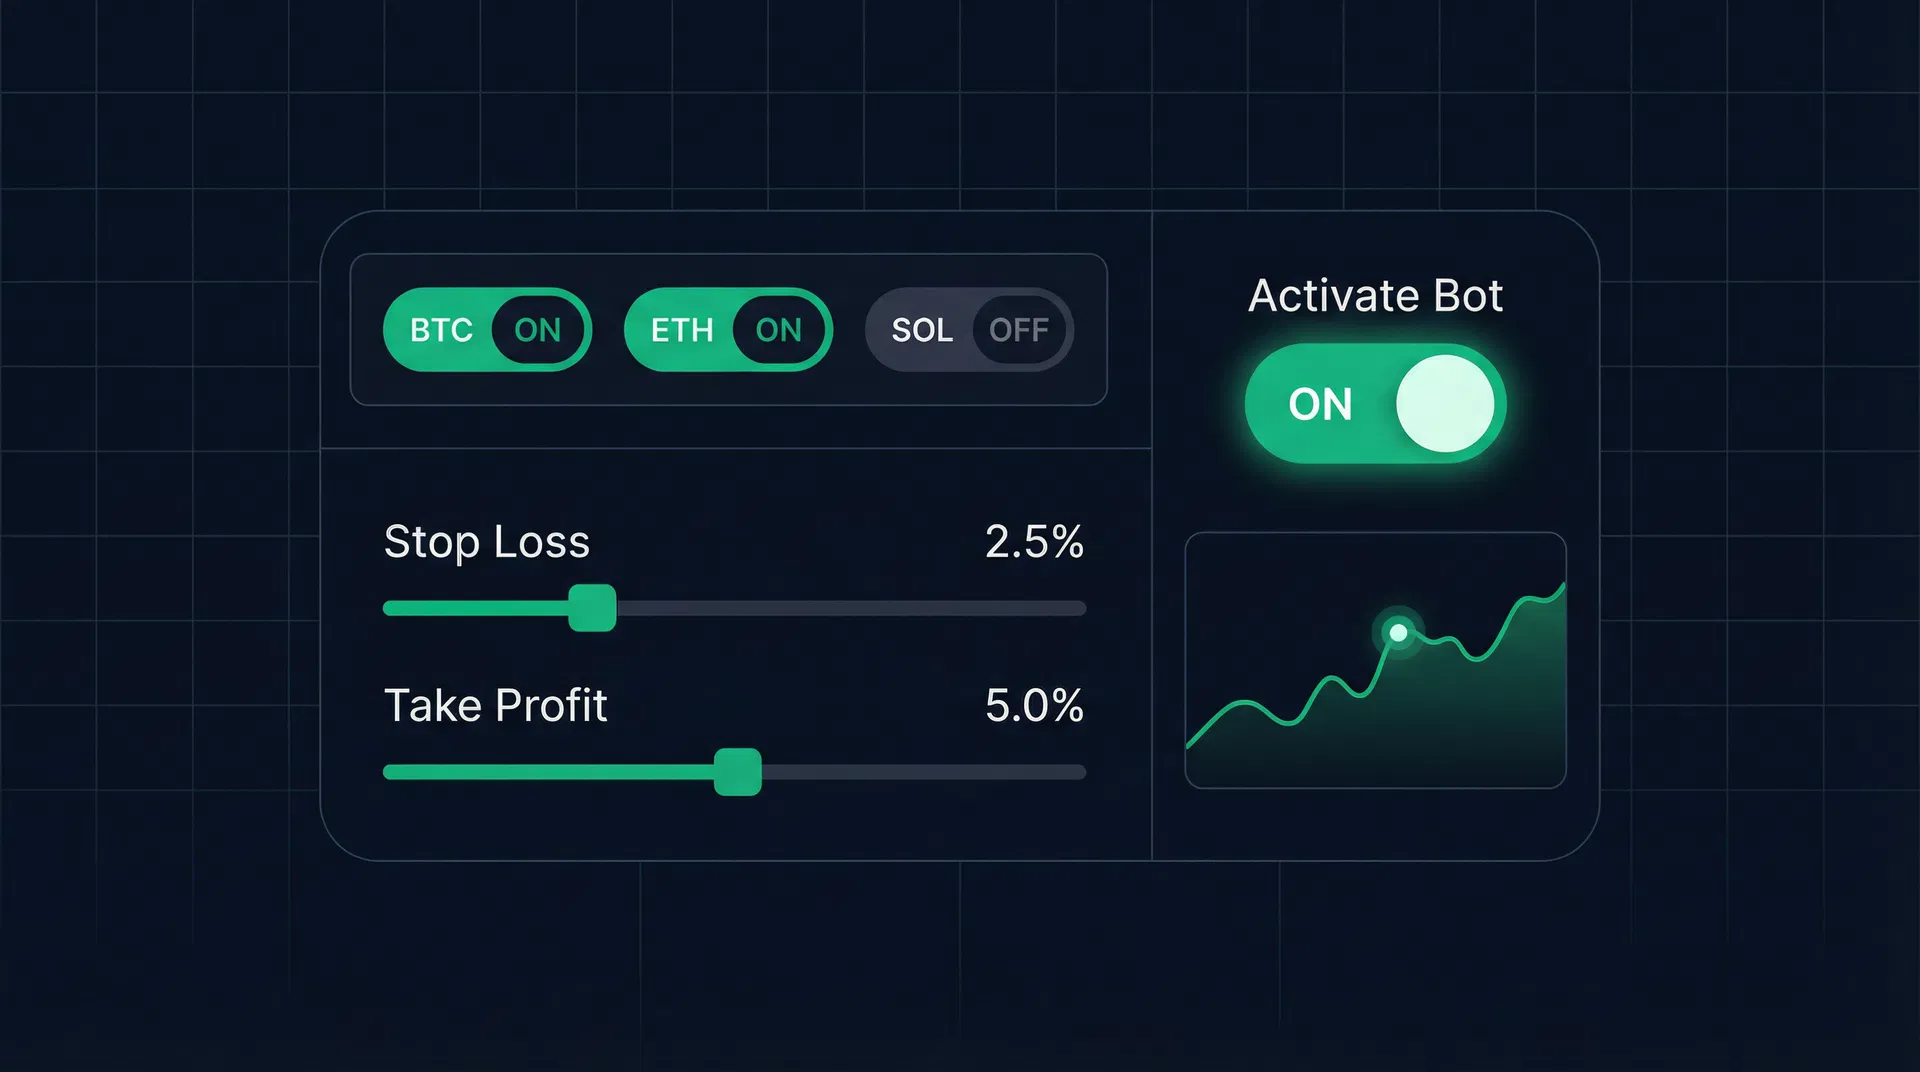
Select your trading pairs
Choose which crypto pairs the bot should trade. Start with BTC-USDT, ETH-USDT, and SOL-USDT for the most liquid markets. Pro and Elite tiers unlock additional pairs.
Set risk parameters
Configure your stop-loss (default 1%), take-profit (default 0.3-0.5%), and position size (default 2% of balance). These protect your capital on every trade.
Activate the bot
Toggle the bot ON from your dashboard. It will begin analyzing markets and executing trades within the first minute.
Monitor your trades
Watch live trades on your dashboard, review AI-generated insights for each entry and exit, and track your P&L in real-time.
Frequently Asked Questions
Everything you need to know about connecting and using ScalpEx.
Ready to Start Automated Trading?
The entire setup takes under 10 minutes. Connect your Coinbase API keys and let ScalpEx trade 24/7 while you keep 100% of the profits.